Showing posts with label Frame. Show all posts

Thursday, April 06, 2017

Spring Bunnies!

Good Morning to All of Our Scrapping Cottage Friends!

It is Pam with an Easter card to share with you today.  I have created a card using inlays from the die called Spring Bunny Egg.


1.  Begin by cutting the Spring Bunny Egg die and removing all the pieces. Be careful to put them in a place where the piece will not get lost.  I actually place them in a small box until I am ready for them

2.  Trace the egg to make a back so that you can glue down the inlaid small pieces after you are finished coloring them set aside

3.  Mask the top half of the egg using green ink sponge the bottom half of the egg.

 4.   Then mask the bottom of the egg using blue ink sponge the top part of the egg

5.   Gather all the inside pieces and begin coloring them with your copic markers or any coloring tools you may enjoy using

6.  After you are finished coloring glue the back to the egg and then start adding the colored inlay pieces
7.  Next using the largest Double Stitched Rectangle die center a piece 5 1/4 x 4 inch piece of yellow checked paper to make a frame

8.   Using the second largest Double Stitched Rectangle die cut 5 1/4 x 4 inch piece of yellow card stock
9.   Glue the yellow card stock directly under the checked paper
10.  Using the Grass Border die cut a strip of grass and glue it behind the frame on the yellow card stock

 11.  Glue the entire frame to the front of an A2 card
 12.  Center your Spring Bunny Egg in the frame under the grass
 13.  Cut two more bunnies using the Spring Bunny Egg and color them plus cut 3 orange flowers using the Hello Spring die
 14.  Add the bunnies and flowers as shown and for a final touch add a small bow to the top left of the frame
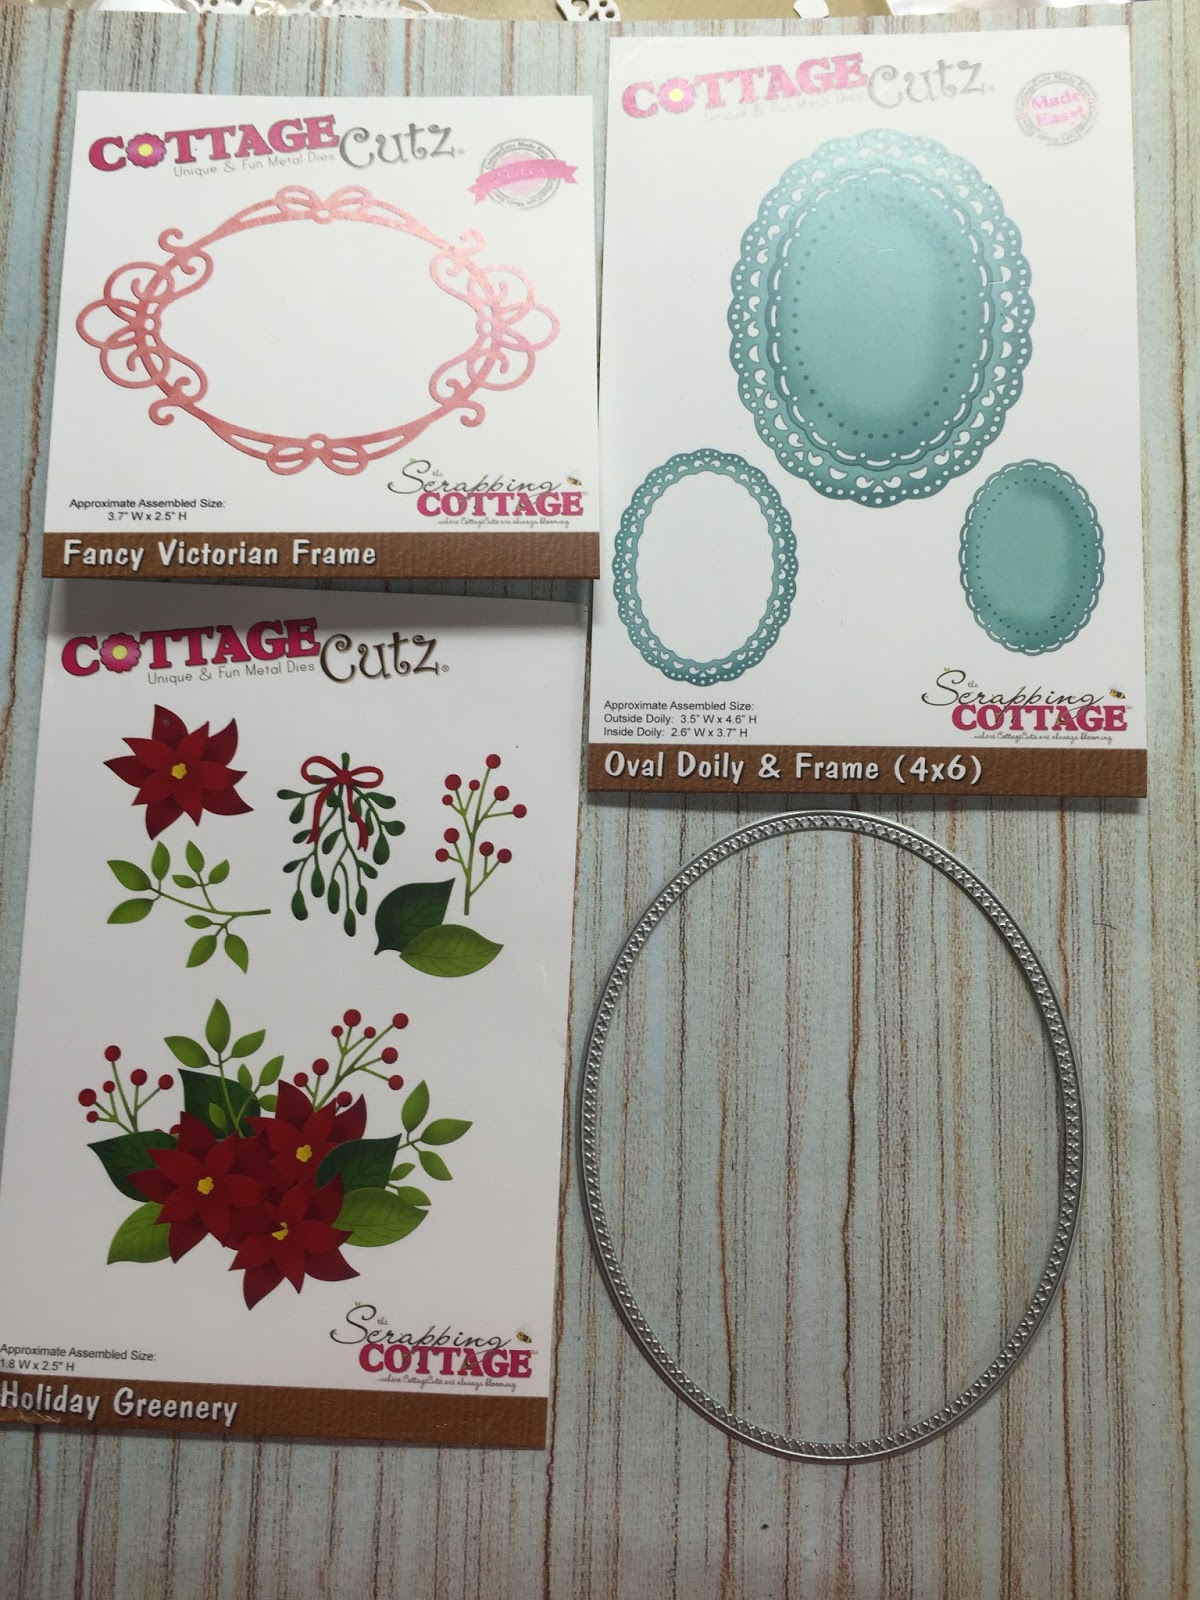
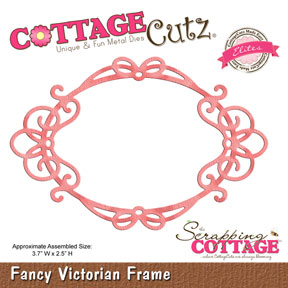
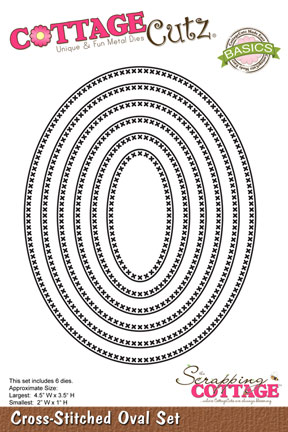
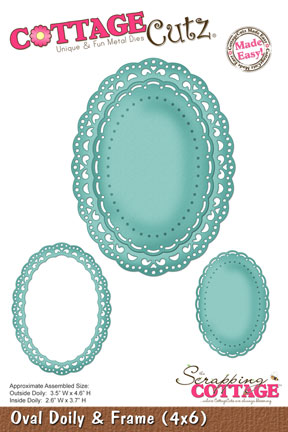
Cottage Cutz Products used:


I hope you enjoyed this Spring tutorial and that you will give it a try!!

Thanks for stopping by today! I am always so glad you did!!

Blessings
Pam


Friday, November 04, 2016

LAYERED MINIATURE CARD

Hello Everyone

It's Anita here with new Christmas inspirations.
Today I have something which you all will love as these are quick to make but gives you really beautiful layered ornate cards.
CottageCutz has some really awesome dies that compliment with each other to give you a multi layered card. All one has to do is place them well on the card.
The card shown here is a miniature card not bigger than 5 inches by 3 inches.
I have used many dies here and the step by step pictures below will give you an insight as to how I have worked on it.
 Let us have a look at the card first.


These are the dies used for making the card- CottageCutz Fancy Victorian Frame, CottageCutz Oval Doily and frame, CottageCutz Holiday Greenery, CottageCutz Cross stitched Oval and CottageCutz Leaves and stem


 Cut all the die cuts as shown.


Make an aperture card from Cross  stitched oval die. Cut out the coordinating die from oval die and apply foam tape.


Layer the die cuts as shown.

Make cuts in the Victorian frame as shown

Adhere the die cuts in layers as shown here.

The finished card.

 CottageCutz Dies Used.


Saturday, March 19, 2011

Happy Belated St. Patrick's Day!!

I love St. Patrick's Day and since my scheduled posting day wasn't until today, I didn't get to wish everyone a Happy St. Patty's Day!!

So, I was looking over my dies from the Gnomes and Fairies release and trying to see if I could use any of them on a St. Patrick's Day card. I decided to grab the Filigree Fairy because for one thing, I love her, but more importantly, I thought she would be perfect for sending a little Irish wish!

I also used the Cottage Cutz Frame Die to add my sentiment. I still love the dies from the Love Notes Release!! So much versatility packed into one release!!

That's all from me today! Check back tomorrow for another fabulous creation using your favorite Cottage Cutz dies. Until next week, happy scrapping!!