Saturday, July 15, 2017

~ Honeymoon Car ~ (New die)

Hello Scrapping Cottage friends! Thanks for taking the time to stop and visit today. It's Mary Marsh here bringing you the Saturday edition of the Blog.

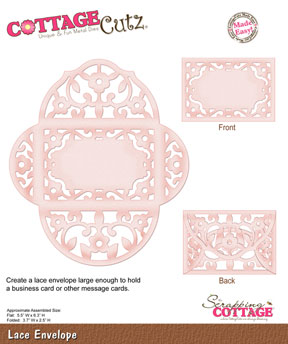
Today, I am sharing a sneak peak of some new dies that will be released over the weekend in the online store. There are 20 new wedding dies and 17 fun new nesting shapes. Today I am showing the new Honeymoon Car die and I placed it inside a 
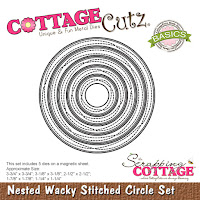
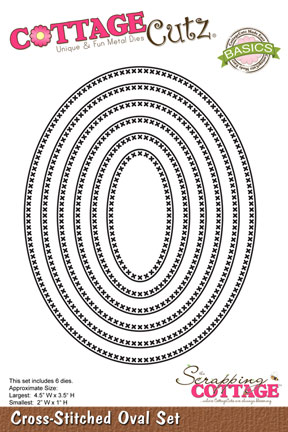
Wacky Stitched Circle Die. I also used the Love Phrase word die.

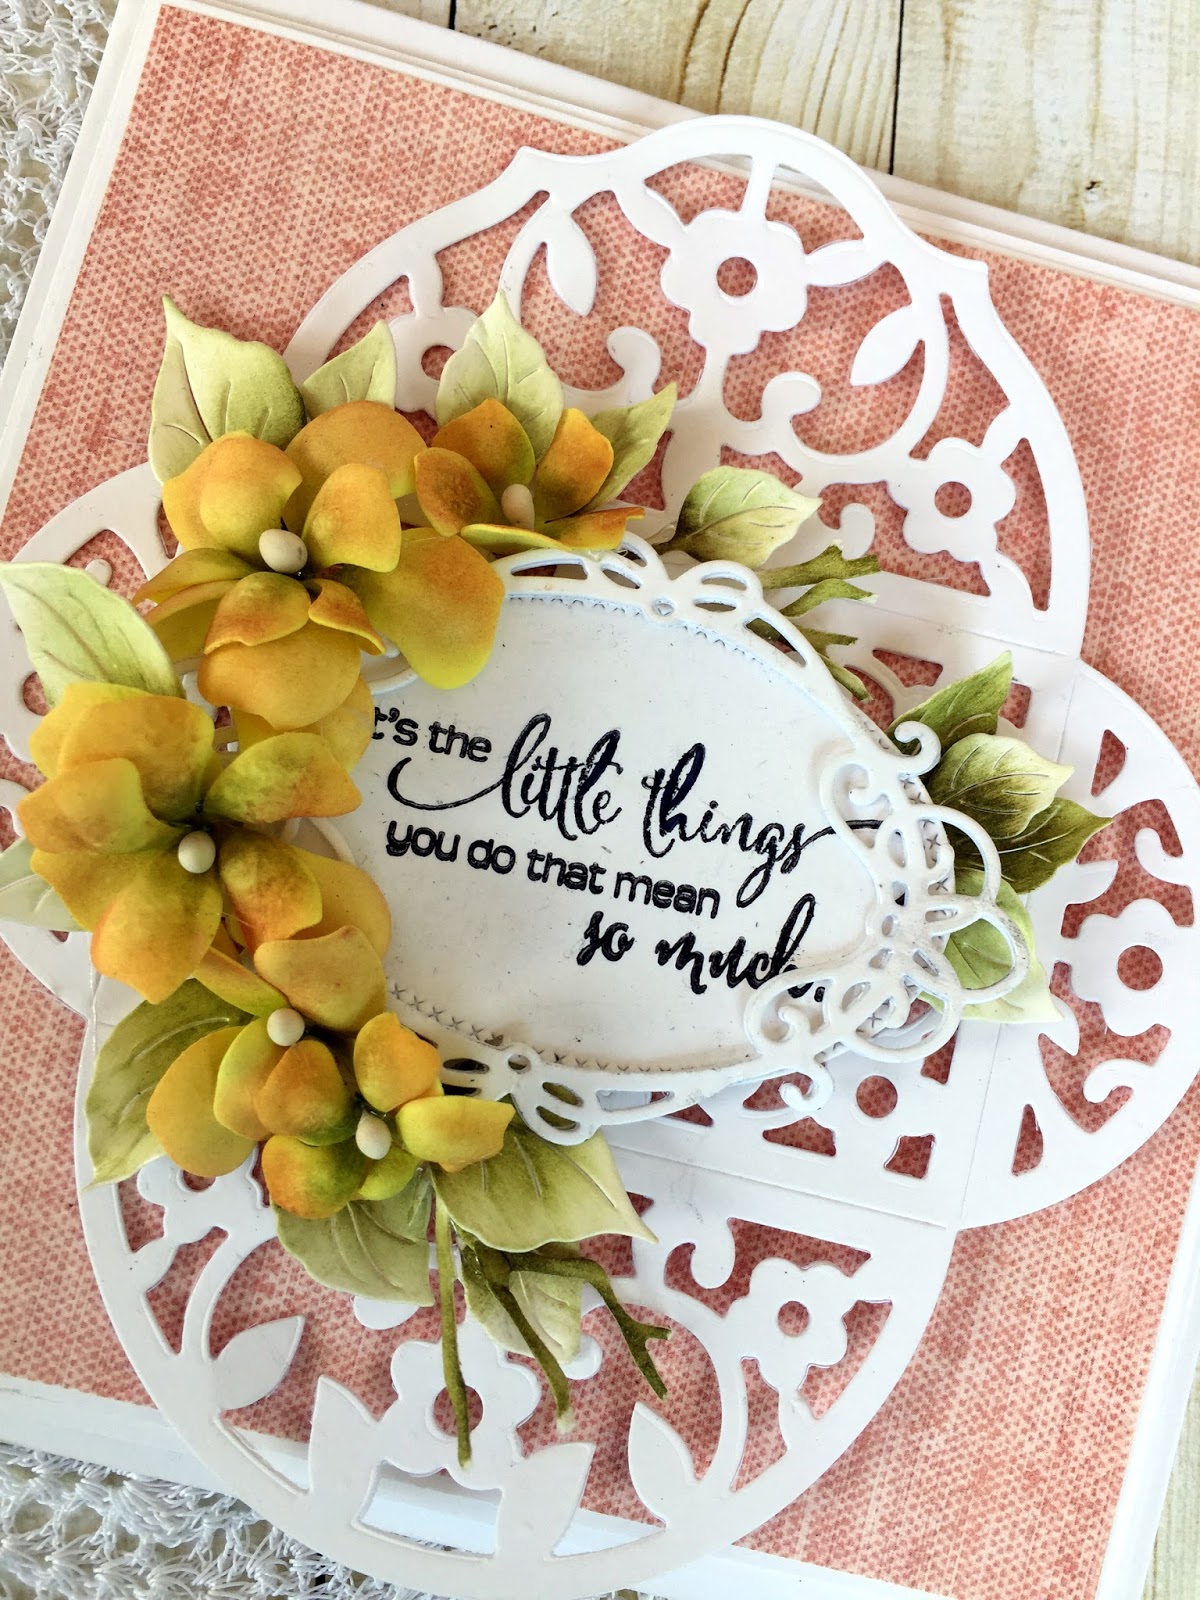
So let's get started with some details on how I created my card.

Step 1:  I started my card this week by choosing my card colors. Since this is a wedding card, I wanted the colors to be bright and fun. I decided on blushing bride, mint green, and rose red as the main card colors.
Rose Red card Base: 4 1/2" x 5 1/2"
Blushing Bride Layering panel: 4 1/8" x 5 3/8"
Blushing Bride Designer Paper Panel: 3 7/8" x 5 1/8"
Step 2: I cut my wacky stitched circle in a shimmery vanilla cardstock. The Honeymoon Car is cut in the mint green along with the other card colors. The detail on the CottageCutz dies is always amazing and this new car is no exception. Plus, I love the stitching on this new die and we have other shapes coming with the same stitching.
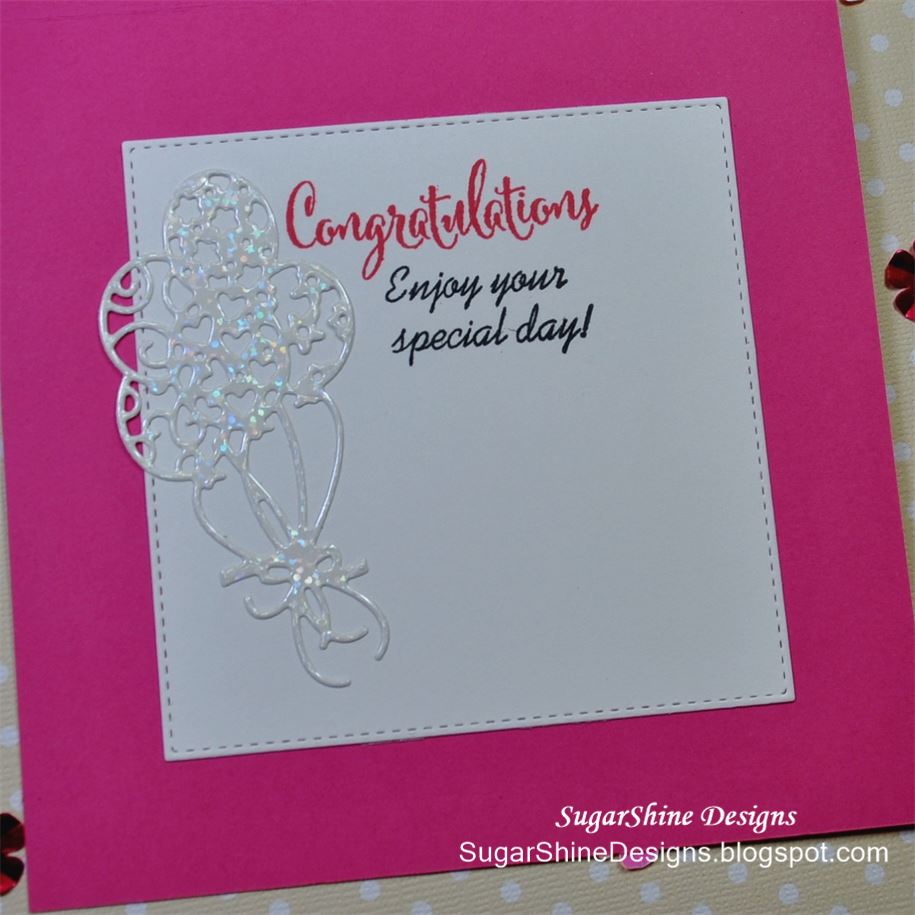
Step 3: I started assembly of the card. At this point I wanted to stamp my sentiment. I am only going to use the words forever and always from my stamp. So I taped off the other words and used my stamp-a-ma-jig for placement. I didn't tape all the way to the top of the stamp. When I inked my stamp, I had the top part of stamp off the ink pad.
I placed my love word temporarily on my card just to see where I was going to place the sentiment. That way I don't have any interference from other cardstock and I get a good image.


Step 4: I adhered my honeymoon car image to the wacky stitched circle panel. Used dimensional adhesive to lift it off the circle panel. It always adds depth to your design. I love the balloons and tin cans that are part of this die. Just the way the bride and groom car gets decorated for their departure. So cute! Love this new die.
Step 5: Finished my card assembly. I used double sided tape for all the layers, multi medium matte for my Love word phrase.

That's my card for this week. The new dies are in the online store and for a limited time they are 25% off. Click here to go shopping.


Dies I used to create card:
http://www.scrappingcottage.com/cottagecutzhoneymooncar.aspx

http://www.scrappingcottage.com/cottagecutznestedwackystitchedcircleset.aspx

http://www.scrappingcottage.com/cottagecutzexpressionspluslovephrase.aspx


Friday, July 14, 2017

Lace card with Foam Flowers


Hello to all !!!

This is Anita here!!!! I have not been around for some time and miss all the action here!!! I have been travelling and also due to some family emergencies, life has not been very normal to me . But now everything is coming back to place so here I am with another creation of mine. This time I tried working with foam flowers . And you can see the results.


This is my first attempt with Foamiran and its very easy to use with Dies from Cottage Cutz.
To make this card......

1. Cut a pattern paper to size 5.5 inches x 5.5 inches.
2. Mat it on white card stock that is slightly bigger than the pattern paper.
3. Adhere the card panel on a card base 6 x 6 inches.
4. Cut out the flowers from the flower die using a foam sheet.
5. Add colours using the Archival ink/pan pastel/distress inks/crayons.
6. Switch on the heat tool and apply heat on the flower die cut just for 3-4 seconds. You will see the flower curl up. Mold a little on a foam pad.
7. Cut out leaves from the Leafy foliage die and colour with Forest Moss Distress ink.
8. Cut out three oval die  cuts from Cross- stitched Oval die and lay on top of each other with glue. Stamp the sentiment on top.
9. Cut two die cuts from Victorian Frame die and adhere together. Adhere this on the oval.
10. Cut one Lace envelope die cut and adhere on the card front. Add the oval and the flowers and leaves as shown.

CottageCutz dies used.


Do stop by at the CottageCutz store to get a huge range of beautiful die and stamps.

Thursday, July 13, 2017

Sweet New Baby!

Good Morning!

Hello Scrapping Cottage friends! It is Pam sharing one of our recently released baby dies.  And I am pairing it with a new release Expressions Word die.  The baby dies make such sweet cards it is hard for me to give them away!


Design Steps:


1.  Use an A2 white card base.  Cut two pieces of designer paper 5 x 3 3/4 and stagger them then glue  to the front as shown
 2.  Using orange, white, grey and blue DP cut out the Cottage Cutz Stork with Baby

3.  Use copic markers to add highlights and color baby's face.  Glue all the pieces together
 4.  Cut the Cottage Cutz Tea Time Doily out of white card stock and cut DP with the Cottage Cutz Cross Stitched Circle die then glue together
 5.  Put dimensional squares on the back of the stork and pop it to the center of the circle

6.  On white card stock using Cottage Cutz Expressions Plus Sweet die, cut out the word sweet three times and glue them together
7.  Glue the word sweet to the card and stamp new baby in blue ink mat then glue under sweet

Cottage Cutz Products


I hope you give this card a try.  It was simple and fun plus you could make a girl or a boy baby card just by changing up the papers!

Blessings and Thanks for Stopping By!

Pam


Tuesday, July 11, 2017

Elegant Wedding Card


Hello friends. It's Janet from SugarShine Designs. I hope you are having a great week! It's the middle of the summer wedding season so I thought I'd make a wedding card using some beautiful CottageCutz dies you can find in the store. Click below for the video tutorial showing how this comes together.


This is a 5" square card that features the Bride & Groom die on the front in holographic white card stock. I just love this simple but beautiful lacy die that is so smart, it cuts out the groom's bow tie so it can stand out. Very elegant! The couple is attached to a 4.75" square black embossed card stock that is lifted off of the card base with a 4.5" square of fun foam. This is a great way to get a little lift but not make it so thick that it can't be mailed. Across the couple, I placed another die called Tweet Love. It includes the Love sentiment and also two "tweet" little birds. I thought the birds were too big for my design but they are cute! I saved them to decorate the envelope. As a substitute, you could choose the new Love Expressions die or give it a slightly different twist by picking Celebrate, Adore, Dream, Cherish, etc. The pretty script in those dies would match the elegant feel of this card perfectly. To finish the front, I used three metallic flower sequins and white gems.


Inside I used the largest square from the Stitched Square set and added the lacy Balloon Bouquet die in the same white holographic paper as the Bride & Groom on the front. The balloon die is super versatile. It would work for any elegant celebration from birthdays, parties, weddings and anniversaries.


Thanks for joining me today. I'll see you soon with another video tutorial!
Janet

Dies used in this project:


Monday, July 10, 2017

Prayers

Hi, Lois here with my card for today, which could cover several needs.  I am part of a group of ladies at my church called Prayer Angels.  We each pick a name of one of the group out of a hat and become that person's "Prayer Angel."  We offer prayers for her throughout the year and send cards of encouragement.  A card similar to this one would fill the bill perfectly.  Or . . . it could be used as a sympathy card.   Unfortunately, we all need those occasionally.  I used three different CottageCutz dies on this card, including one of the new Expressions Plus dies.


To begin my card I cut a piece of purple cardstock 5 1/2" x 8 1/2", scoring it at 4 1/4".  I also cut a piece of green cardstock 4" x 5 1/4" and a piece of coordinating pattern paper 3 7/8" x 5 1/8".


Then I cut the cross/vine, the Prayers phrase, and the rounded rectangle panel from various colored cardstock.


Using Ranger Distress inks (Bundled Sage and Antique Linen) as well as a dark yellow Copic marker, I added some dimension to the die-cuts.


I then constructed my cross and vine, attaching the flowers with mini brads.


Because I was going to stamp an additional sentiment in black ink, I decided to shadow my "Prayers" Expressions Plus sentiment with black.  To make the adherence process easier, I had run the panels of cardstock through my Xyron X sticker maker prior to cutting out the words.


I then stamped the small sentiment in the lower right-hand corner of the pale green rectangle, added the cross/vine, which were popped up with foam tape, and constructed the rest of my card.


CottageCutz dies used on this card are:

http://www.scrappingcottage.com/cottagecutzcrosswvine.aspx

http://www.scrappingcottage.com/cottagecutzexpressionsplusprayersphrase.aspx


http://www.scrappingcottage.com/cottagecutzroundedrectanglesetbasics.aspx