Tuesday, April 18, 2017

~ Follow Your Dreams (new dies) ~


Hello Scrapping Cottage friends! Thanks for taking the time to stop and visit today. It's Mary Marsh here bringing you the Tuesday edition of the Blog.

We just had the cutest release of baby dies. There are 42 different designs. So perfect for creating cards to welcome the new baby or even as baby shower invitations.
Today for your viewing pleasure, I am showcasing the new Choo Choo Train dies. But, I am showing another way to use this die that isn't centered around a baby card.

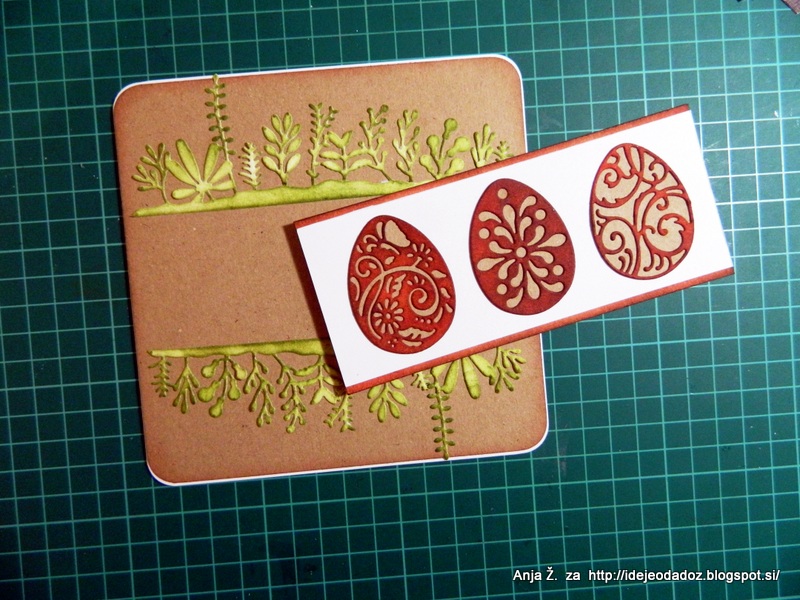
So without further delay, let's get started on how I created my card.

Teal Card Base: 5 5/8" x 4 3/8"
Black Layer Panel: 5 1/2" x 4 1/4"
Image Panel: 5 3/8" x 4 1/8"

Step 1: I started my card this week by die cutting my train pieces. I used the colors from the Splitcoaststampers color challenge #631. The colors are red, kraft, teal and black. I also used a neutral of light and dark gray.
teal, black, red, kraft

Step 2: I decided to create an outdoor scene for my train. I started it by sponging the teal ink on the top part of my white cardstock.

I wanted some mountains in this scene so I took a post it note (it's blue) and tore it into a mountain range shape. Placed it on my cardstock to cover the card top and sponged in chocolate ink.
 
For the final step to the background, I sponged more teal ink and then crumb cake and tea dye distress. I was happy with how the background turned out.
Step 3: I usually stamp my sentiment as one of my last things to complete my card. But, since I had a couple of layers on this one I stamped at this point in the process. I used Tuxedo Black ink and my MISTI for placement.
Step 4: I placed my train cars, couplings and track on the completed background scene.
 
Step 5: I layered the black cardstock to the image panel and then to my teal card base. And, that completed this card. Here is a close-up of the card. I wanted to show the detail in the train cars -right down to the couplings that connect the train together. You can click any of the photos to make them larger. 
 
I hope I have given you an idea for a different way to use this die. Sometimes by just thinking out of the box a bit, you can get a creative idea to use a die in a unique way. Well, that's it for me for this post. See you on Saturday.
 
 
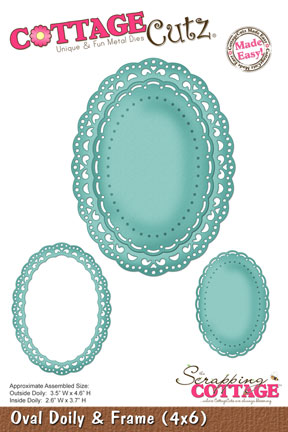
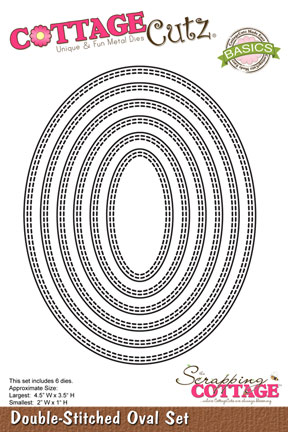
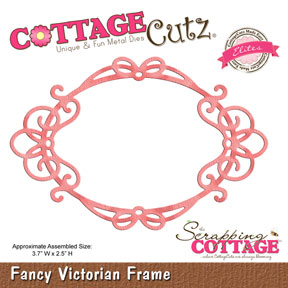
Dies I used to create card:

http://www.scrappingcottage.com/cottagecutzchoochootrain.aspx


Monday, April 17, 2017

Nest with eggs

Hi, Janja here!

Each spring, most of the migratory birds return from wintering in their rearing area. We will see most of the nests just in this and the following two months.
And so for today I prepared nest with eggs on thank you card.


Supplies:
- CottageCutz dies: Nest With Eggs, Songbirds, Spring Greenery, Thank You
- white card base: 5.3 x 5.3" (13,5 x 13,5 cm)
- patterned paper: 4.72 x 4.72" (12 x 12 cm)
- white and colored cardstock
- corner punch

From white and colored cardstock cut out with dies a nest with eggs and greenery. Coat eggs with glossy accents to get the shine. On some green twigs apply pearl dots. Also prepare birds cutouts and add "Thank you". Cut them out twice.


While the eggs and dots are drying, prepare a card base and the background from patterned paper. Cut off one corner with corner punch.


Assemble the card.


Thank you for coming over. Have a nice day. 


Sunday, April 16, 2017

Easter Eggs Card

Hi!

It's Anja here. I hope you're having a nice Easter Sunday.
I have an Easter card for you today. I used the beautiful Fancy Spring Eggs die which is one of my favourite Easter eggs dies.

I used:
- Cottage Cutz dies (Fancy Spring Eggs, Spring Foliage Border, Bib Mini),
- white card base (15 x 15 cm),
- craft paper (14,5 x 14,5 cm),
- 2 white paper strips (6 x 15 cm and 5,5 x 15 cm),
- Distress inks (Barn Door, Vintage Photo, Shabby Shutters, Peeled Paint),
- paper glue,
- adhesive foam pads,
- round corner punch,
- yellow and white marker


First I die cut three embellished eggs from white card stock and three egg bases from craft paper. I colored the embellished eggs with Barn Door and Vintage Photo Distress ink to make them look like Easter eggs colored in onion peelings. I used the same Distress Inks to color the edges of the bigger white paper strip. 


Then I die cut and then colored two pieces of border. I used Shabby Shutters and Peeled Paint distress ink.


I rounded the corners or white card base and craft paper square. I put some Distress inks on the edges of the craft paper. I used the same colors as for the eggs.


Then I glued all the pieces together. I used adhesive foam pads for the white strip. 


I cut a few small flowers and colored them round the edges with Barn Door Distress ink. I gave them a little shape and adhere them to the green border. Finally I used white marker to put a little more interest to the greenery and yellow marker for flower stamens.


And just a reminder. There is a new release of beautiful baby dies and it is available on the Scrapping Cottage site. Don't forget to check it out and get 25 % discount.

Have a nice Sunday.
Anja Z. 

Cottage Cutz dies I used:


Saturday, April 15, 2017

Baby Screen Card

Hi, Lois here with a card I made using the brand new Baby Dies, which are so very cute.  And right now they're 25% off, so be sure to go over to the store site and check them out!


Supplies used on my card are:

Pink cardstock - 11" x 5 1/2", scored at 3 3/4" and 7 1/4"
Dark pink cardstock (3 panels) - 3 1/4" x 4"
Patterned paper (3 panels) - 3 1/8" x 3 7/8"
White cardstock large enough to cut pieces
Scrap of pink and dark pink large enough to cut circle pieces
Various Copic markers for coloring die-cut pieces
Punches to cut border top and legs
CottageCutz dies - Baby Animal Mobile, Baby Girl Tag Topper, Pram, Stork w/Baby Mini

To start my card, I cut the pink cardbase 11" x 5 1/2", scored at 3 3/4" and 7 1/4", and punched the border top and legs.  You could use any border punch for the top; mine is an EK Success punch that has small moons and stars.  There are many different punches you could use to cut the legs.   I used the Modern Label punch from Stampin' Up.


Then  I cut the dark pink matting pieces and pattern paper . . .


. . .  and adhered the dark pink pieces onto the three panels of the screen.

I cut out  the various pieces from white cardstock, except for the tag topper, where I used scraps of light and dark pink.


I colored the various die cuts and constructed the pram, stork and baby, and tag topper.  I decided that it would be easier to construct the mobile directly on the panel rather than pre-make it, although I did "build" the animals that had several pieces (the giraffe, zebra and lion -- as well as the sun).


I then glued the pram to the first panel, built the mobile on the second panel, and glued the stork with the baby and the tag topper to the third panel . . .


. . . and adhered all three panels to the card.


CottageCutz dies used on this card are:

http://www.scrappingcottage.com/cottagecutzpram.aspx


http://www.scrappingcottage.com/cottagecutzstorkwithbabymini.aspx


http://www.scrappingcottage.com/cottagecutzbabygirltagtopper.aspx


Friday, April 14, 2017

Layered Die Cuts Card

Hello !!!!

A very Happy Easter to all !!!
I am Anita here and for today's post , I have a layered die cut card that mainly uses different types of oval designs. You can check them out here at the store. There is a whole new range of new baby dies also now available and shipping at 25 % discount so do not miss it.

Here is my card.


To make this card, just follow the picture tutorial below.


Cut two pieces of die cut in white card stock using these dies.


Adhere each die cut together to add a little thickness to the die cut. Distress with Oxide inks


Cut a card panel 5.5 inches by 4.25 inches and emboss in an embossing folder.


Adhere the base oval die cut after distressing the embossed card panel with worn lipstick oxide ink. Distress the oval lightly with Peeled Paint  Oxide ink.


Distress more die cuts and layer them as shown using Foam tape.


Add glitter to the Songbird Die cut


Score a card base 5 inches by 6.5 inches at 1/4 inch interval on the scoring board.  Add the green ribbon. Distress with oxide ink. Add the layered card panel. Insert  a CottageCutz Victorian corner die cut at the two corners. Add the best wishes sentiment die cut. Add a bow and pearl stick pins.


I hope you liked this card. See you next Friday. Have a good day.