My dear craft friends. I´m so happy to announce this. Today we are starting our first CottageCutz challenge. This will give you the opportunity to show us all your great projects made with Cottage Cutz dies. I´m so excited and can't wait to see them.
How and when?
Challenge will take place every month. It will be open with my first post within the month and it will be closed at the end of the month.
At the end of these posts, "Add your link" button will be available that you will be able to add link to your project. You do not need a blog to link up. You can also use social network sites (as Facebook...), or photo sharing sites (as Google +...). If you are not familiar how "Add your link" is working, I prepare this screenshot for you - click on the image to enlarge it.
Every challenge will have his own theme. So please, make a project which will represent the theme of the month and please use only CottageCutz dies. You can show us cards, invitations, boxes, decorations or any other project made with CottageCutz dies.
And this is not all. Every month two lucky winners will be randomly chosen and will get gift certificate for
Scrapping Cottage store. Great, right?
And now it's time to start and let's start very simple - the theme for our first challenge is ANYTHING GOES.
Let me show you what I've created. I used dies from
Nautical release to create Nautical table setting. Are you interesting how I did it?
Supplies:
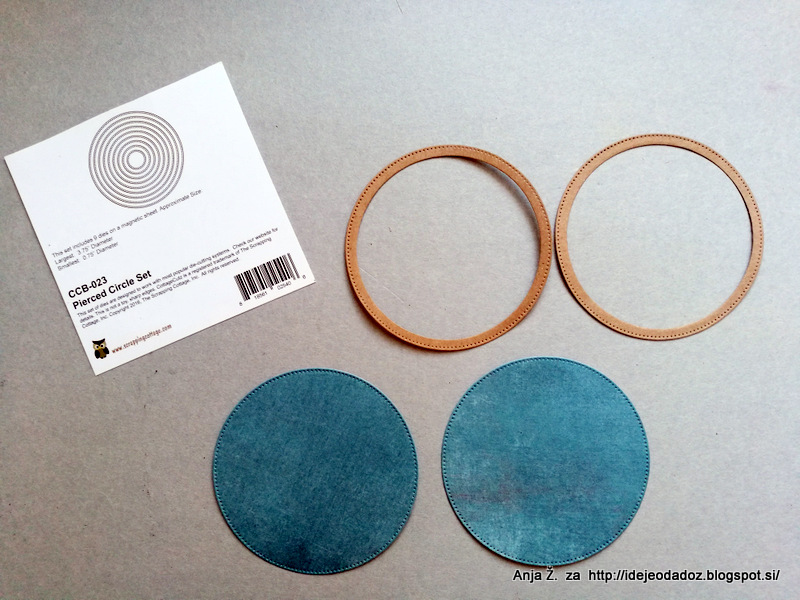
CottageCutz Dies: Listed Below
Cardstock: white, red and two shades of blue Cardstock
Distress Ink: Brushed Corduroy, Gathered Twigs
Other: Scissors, Paper trimmer, Sizzix machine, black and yellow marker
1. With Captain and Sailor Owls die cut all die pieces out with white, red and two shades of blue cardstock. Color the front of the hat with black marker and beak and claws with yellow marker. Glue all the owl pieces together as shown on the photo.
2. With Paddles and Rope Ladder die, cut the paddle out with some white cardstock and colored it with Brushed Corduroy and Gathered Twigs distress ink or any other brown ink.
3. In the Word, design the name and print it with your printer on white cardstock. Before you cut out the oval, put the CottageCutz Stitched Oval die on the paper, so that the name will be displayed in lower part of the oval. Use the biggest stitched oval shape (sixth from the center). Glue paddle and the owl on it. Now you have a name holder for the table setting.
4. Cut the life preserver out with some white and red cardstock. Use Life Preserver die for this and color the twine with some light brown distress ink as Old Paper. Glue all the pieces together as shown on the photo. Use live preserver as napkin holder.
5. For some more decoration you can also cut out the ship's wheel or anchor, color it with brown distress ink and put it on the table.
OK, this is is my projects. And now go back to our challenge a little bit more. As I told you before, two lucky winners will be randomly chosen and will get gift certificate for Scrapping Cottage store.
First one will get gift certificate value of 50$...
... and second one in the value of 25$.
Isn't that awesome?
You have time till 30th of april to participate.
Both winners will be announced in the same post as new challenge (for May) will begin.
All you need to do is take your CottageCutz dies and start creating!
Please, use just CottageCutz dies!
Have fun and don´t forget to show us all your projects.
"Add your link" button is available under the list of used dies.
 P.S.
Sorry, but I have to write this. Because some linked projects didn't use only CottageCutz dies (which is the only restriction our Challenge has), I was obligated to remove them from the links. You are more than welcome to participate at our challenge, but please, use only CottageCutz dies.
P.S.
Sorry, but I have to write this. Because some linked projects didn't use only CottageCutz dies (which is the only restriction our Challenge has), I was obligated to remove them from the links. You are more than welcome to participate at our challenge, but please, use only CottageCutz dies.